


Budget-Friendly Golf Simulator Room Makeover Ideas: Transform Your Space Without Breaking the Bank


When I first started helping people create their home golf simulator spaces, I noticed a common theme – everyone thought they needed to spend a fortune to get a decent setup. Well, I'm here to tell you that's just not true! After years of experimentation and some clever workarounds, I've discovered numerous ways to create an awesome golf simulator room without emptying your bank account.
Smart Space Planning on a Budget
I'll never forget the look on my friend's face when I showed him how to transform his cluttered garage into a golf simulator haven for under $500 (just for the room renovation part, not including the simulator itself). The key was smart space planning and creative use of existing resources.
Start by thoroughly cleaning and organizing your space. You'd be amazed how much room you can create just by proper organization. I've helped dozens of students maximize their available space by installing simple storage solutions like wall-mounted club racks and overhead storage systems for seasonal items.
One of my favorite budget tricks is using movable storage solutions on wheels. This allows you to easily transform the space from a golf simulator to storage when needed, maximizing the utility of your room without any permanent expensive modifications.
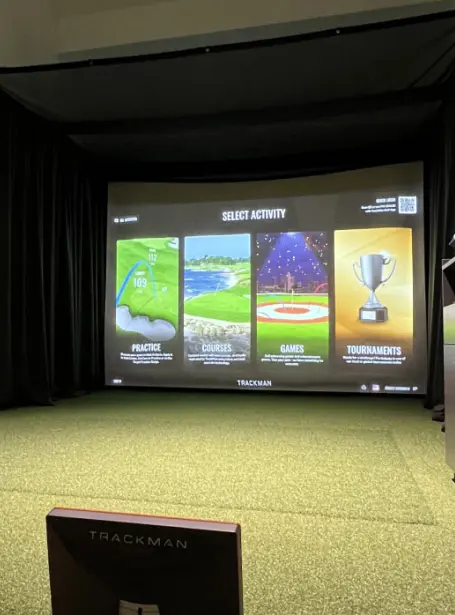
DIY Impact Screen Solutions
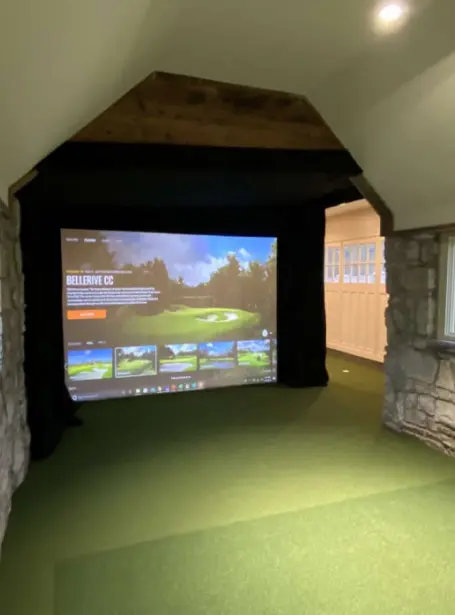
Here's where I made some of my biggest early savings – and mistakes! After some trial and error, I've perfected a DIY impact screen setup that costs about a third of commercial options while maintaining excellent durability.
The secret lies in using high-quality industrial fabric with proper tensioning. I've found that medium-weight canvas or specific impact materials from industrial suppliers work incredibly well when properly mounted. Just make sure to double-layer it – trust me, it's worth the extra material cost for longevity.
My current favorite budget screen setup uses a combination of EMT conduit for the frame (about $30 total) and proper impact fabric (around $100-150). Add some bungee cords for tensioning, and you've got a professional-looking setup for under $200.
Affordable Flooring Alternatives
Flooring can eat up a huge chunk of your budget if you're not careful. After trying various options, I've found some excellent budget-friendly solutions that don't compromise on quality.
Interlocking foam tiles have become my go-to recommendation for budget setups. They're comfortable, durable, and most importantly, they protect your subfloor. You can often find them for around $2-3 per square foot, and they're easy to install yourself.
For the hitting area, I've discovered that combining these foam tiles with a quality hitting mat creates a perfect surface. Pro tip: look for used commercial hitting mats from golf ranges upgrading their equipment – you can often get them at a fraction of the retail price.
Creative Lighting Solutions
Lighting can make or break your simulator experience, but it doesn't have to be expensive. I've developed some creative lighting solutions that provide excellent visibility without the premium price tag.
LED shop lights are your friend here. They're incredibly affordable (usually around $20-30 each), provide excellent brightness, and use minimal electricity. I typically recommend installing 4-6 of these in a standard-sized room, positioned strategically to eliminate shadows.
One of my clever discoveries was using adjustable LED strip lights behind the impact screen. This creates a professional ambient lighting effect for about $30, and it helps reduce eye strain during those longer practice sessions.
Cost-Effective Room Treatment
Sound treatment and wall protection don't have to cost a fortune. I've found some brilliant ways to manage both on a budget. Moving blankets, often available for $10-15 each, make excellent sound absorbers when mounted on walls. They also provide decent impact protection for errant shots.
For wall protection, I use a combination of foam padding (similar to gym wall pads) and carpet remnants. Local carpet stores often sell remnants at steep discounts, and they work perfectly for wall protection when properly mounted.
DIY Projector Mount Solutions
After seeing some outrageously priced projector mounts, I developed a simple but effective mounting solution using basic hardware store materials. A combination of steel pipe and floor flanges creates a sturdy, adjustable mount for under $50.
Just make sure to secure it properly to ceiling joists or wall studs. I learned that lesson the hard way when my first attempt at a budget mount came crashing down (thankfully with a practice projector!).
Storage and Organization on a Budget
Efficient storage doesn't require expensive custom solutions. I've found that simple wire shelving units, pegboards, and wall-mounted tool organizers work perfectly for golf equipment. The key is to think vertically – use your wall space efficiently.
One of my favorite budget storage solutions is using PVC pipe to create club organizers. For about $20 in materials, you can build a professional-looking club storage system that keeps everything organized and accessible.
Ventilation Solutions That Won't Break the Bank
Proper ventilation is crucial but doesn't need to be expensive. I've found that strategic placement of affordable fans can create effective air circulation. Look for used industrial fans at auctions or online marketplaces – they often sell for a fraction of their retail price.
For more permanent solutions, installing a couple of box fans with simple speed controllers can provide adequate air movement for most home setups. Total cost? Usually under $100.
Conclusion
Creating a budget-friendly golf simulator room is absolutely achievable with some creativity and smart planning. Remember, you don't need to implement everything at once – start with the basics and upgrade as your budget allows. Focus on essential elements first: a good hitting surface, adequate protection, and proper lighting.
The beauty of these budget-friendly solutions is that they can always be upgraded later. Start simple, and let your setup evolve as you determine what works best for your game and space. After all, the goal is to improve your golf game, not empty your wallet!