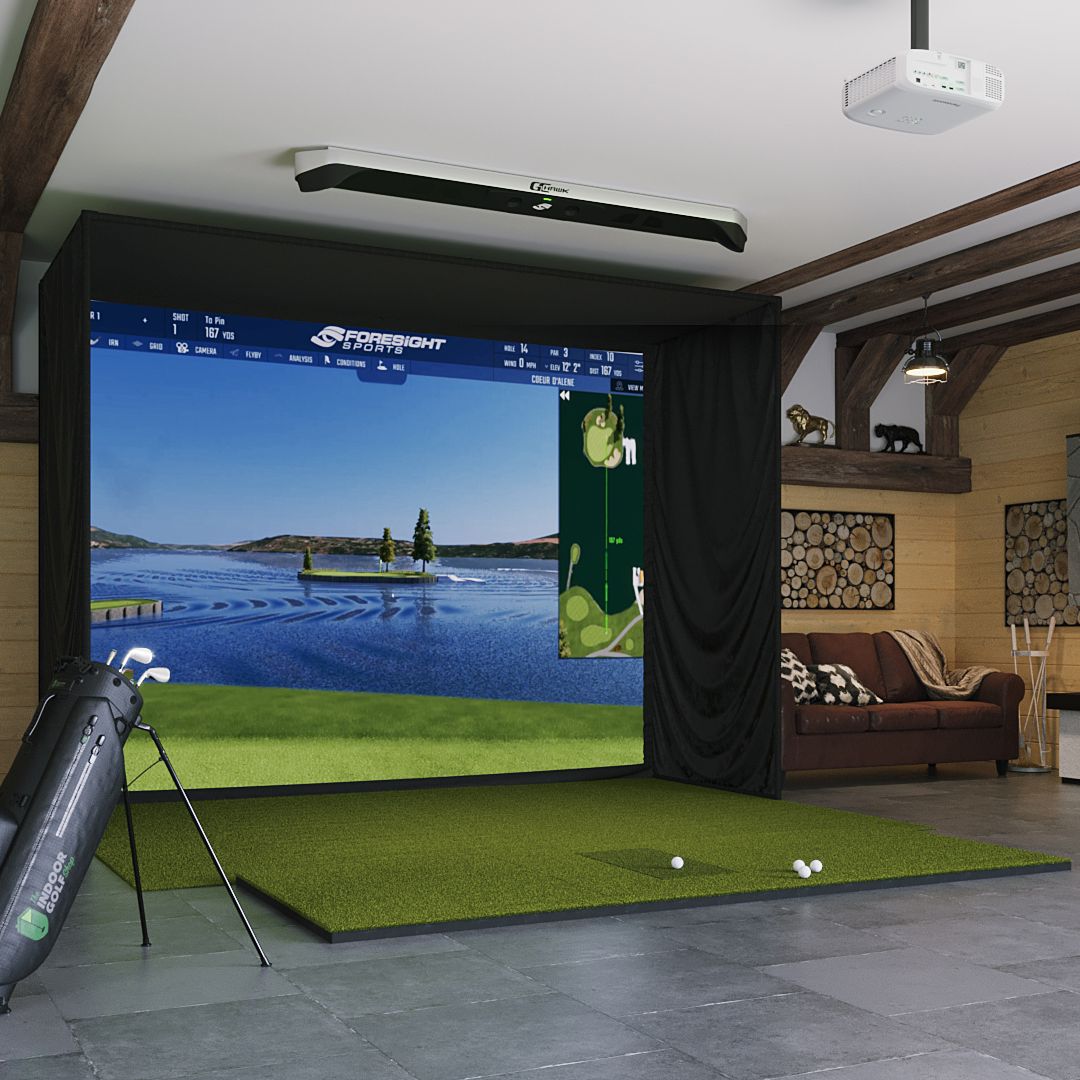
DIY Golf Simulator Lighting Setup Guide: Perfect Your Home Golf Experience
When I first started setting up golf simulators, I completely underestimated the importance of proper lighting. Man, was that a rookie mistake! After countless hours of experimenting with different setups and helping others avoid my early blunders, I've mastered the art of simulator lighting. Let me share what I've learned about creating the perfect lighting setup for your home golf simulator.
Understanding Golf Simulator Lighting Basics

Getting your lighting setup right can make or break your simulator experience – trust me, I learned this the hard way! During my first installation, I thought a couple of basic LED strips would do the trick. Boy, was I wrong! The shadows were all over the place, and the ball tracking was about as reliable as my putting game (which isn't saying much!).
The key to effective simulator lighting lies in achieving uniform brightness while eliminating shadows that can interfere with ball tracking. You'll need to consider three main types of lighting: ambient room lighting, direct hitting area lighting, and screen illumination. Each plays a crucial role in creating the perfect environment for your simulator setup.
I've found that maintaining a consistent color temperature across all your lighting sources is absolutely crucial. After experimenting with various options, I've settled on daylight-balanced LEDs (around 5000-6000K) as the sweet spot for most simulator setups. This temperature range provides excellent visibility without creating the harsh glare that can interfere with projector images.
Essential Lighting Components

After years of trial and error, I've developed a foolproof lighting configuration that works wonders. Your shopping list should include several key components. First up, you'll need high-quality LED panel lights or bar lights for your main overhead lighting. I typically recommend going with fixtures that provide at least 3000-4000 lumens of output for adequate brightness.
For the hitting area, I've had great success using adjustable LED track lighting or spotlights. These allow you to fine-tune the direction and intensity of light exactly where you need it. Remember to position these lights carefully to avoid creating unwanted shadows or glare that could interfere with ball tracking.
Don't forget about your impact screen illumination! I usually install LED strip lights around the frame of the screen, making sure they're properly diffused to prevent any hot spots. This helps create an even wash of light across the screen surface, improving image quality and reducing eye strain during those marathon practice sessions.
Optimal Light Positioning
Let me tell you about positioning – this is where the magic happens! After countless installations, I've found that the ideal setup includes lights positioned at both 10 and 2 o'clock relative to the hitting area, plus overhead lighting. This configuration virtually eliminates shadows that could interfere with ball tracking.
The overhead lights should be mounted about 8-9 feet high, angled slightly toward the hitting area. I learned through experience that mounting them any lower can create annoying shadows that mess with your ball tracking software. For the side lights, position them about 7-8 feet high and angle them at roughly 45 degrees toward the hitting area.
One crucial tip I picked up after many installations: always ensure your lights are mounted securely! Nothing ruins a practice session quite like a wobbling light fixture. I use heavy-duty mounting brackets and always double-check my installations – better safe than sorry!
Control Systems and Dimming
Having a proper control system for your lights is an absolute game-changer. I remember the days of fumbling around with different switches – not ideal when you're trying to focus on your swing! Now, I always recommend installing a programmable dimming system that lets you create and save different lighting scenes for various situations.
Most modern LED fixtures are dimmable, but make sure to check compatibility before making your purchase. I've found that having at least three preset lighting scenes works best: one for regular play, one for putting practice (slightly dimmer), and one for watching replays or reviewing swing footage.
Troubleshooting Common Lighting Issues
Over the years, I've encountered pretty much every lighting problem you can imagine. Flickering lights? Been there. Weird shadows? Fixed those too. The most common issues usually stem from either improper positioning or incompatible dimming systems. If you notice flickering in your video recordings, try adjusting your camera's shutter speed or switching to lights with a higher refresh rate.
Another issue I often see is glare on the impact screen. The solution? Adjust the angle of your lights slightly and make sure they're properly diffused. Sometimes, something as simple as adding diffusion filters to your lights can make a world of difference.
Conclusion
Creating the perfect lighting setup for your golf simulator might seem overwhelming at first, but trust me – it's worth getting right! Take your time with the installation, and don't be afraid to make adjustments until everything is perfect. Remember, good lighting isn't just about brightness; it's about creating the ideal environment for both accurate ball tracking and an enjoyable playing experience.
Got questions about your simulator lighting setup? Drop them in the comments below! I'd love to hear about your experiences and help troubleshoot any issues you might be facing.
