


I remember staring at my newly installed golf simulator screen with disappointment, watching as my shots seemed to disappear into a virtual black hole. After spending weeks researching and installing my dream home simulator, I'd completely overlooked one of the most crucial elements – proper lighting. That expensive mishap taught me more about golf simulator lighting than any manual ever could.
Understanding the Fundamentals of Simulator Lighting
Getting your lighting setup right isn't just about brightness – it's about creating the perfect environment for accurate ball tracking and an enjoyable playing experience. Through years of experimenting and countless adjustments, I've discovered that proper lighting can make the difference between a frustrating and a fantastic simulator experience.
The key challenge lies in eliminating shadows while providing consistent, even illumination throughout your hitting area. When I first started, I made the rookie mistake of using standard household LED bulbs, which created harsh shadows and interfered with ball tracking. After much trial and error, I found that commercial-grade LED panels with proper diffusion make all the difference.
Essential Lighting Components for Your Setup
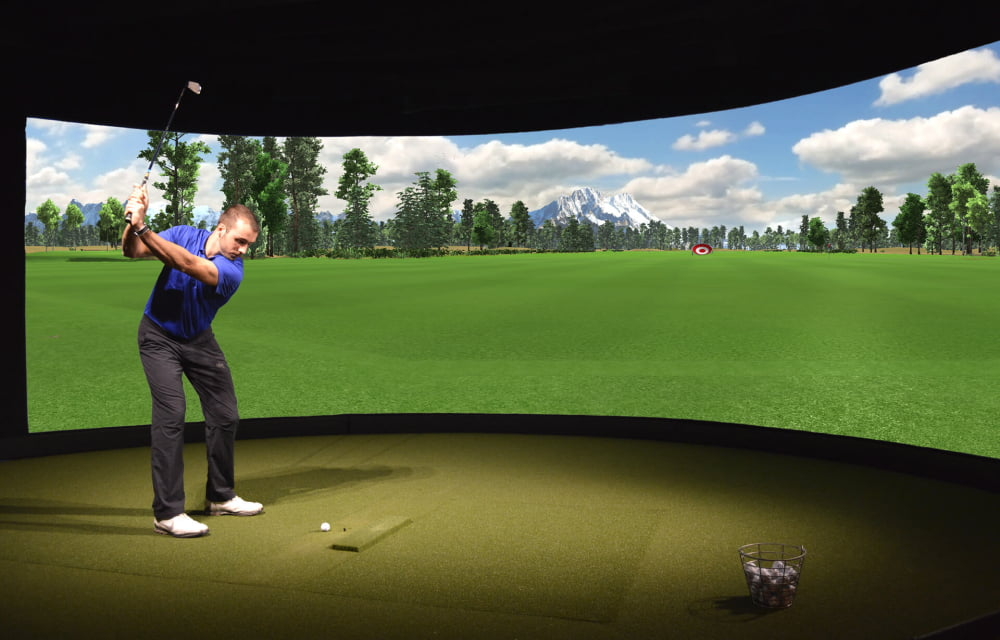
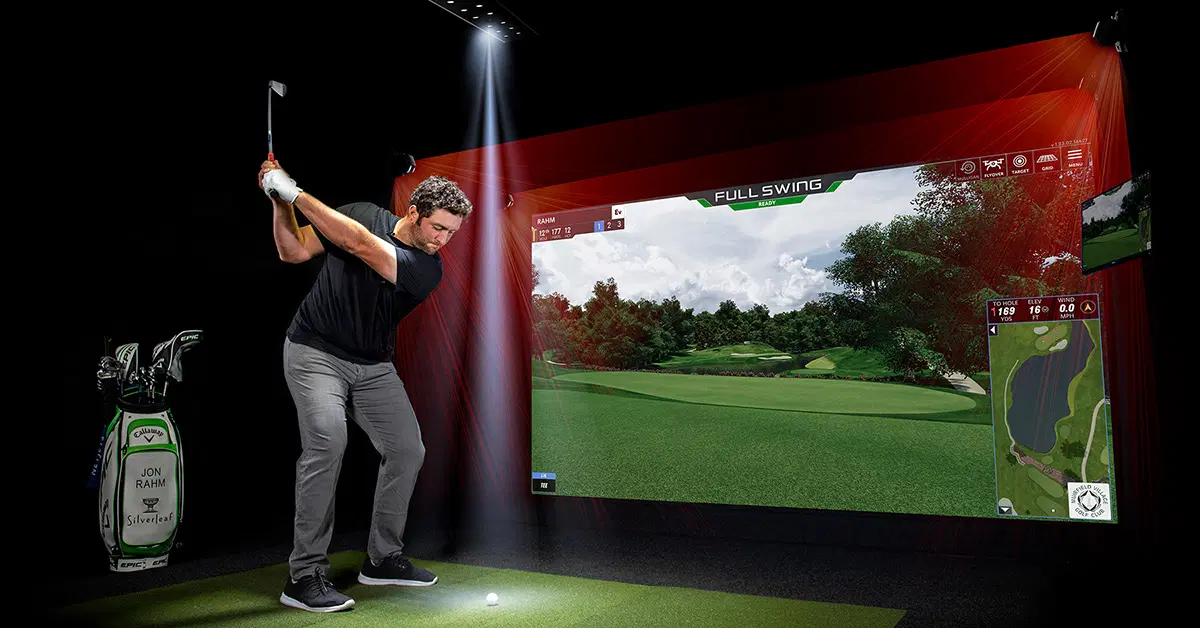
Let me share what I've learned about the crucial components of an effective golf simulator lighting system. The primary lighting should come from above, ideally positioned 8-10 feet high and slightly angled toward your impact screen. I personally use two main LED light bars mounted on the ceiling, each with a color temperature of 4500K – this provides the perfect balance for both ball tracking and visual comfort.
Side lighting is equally important, though I learned this the hard way after months of struggling with inconsistent readings. Adding two smaller fill lights on either side of the hitting area eliminated the subtle shadows that were causing tracking issues. The key is to position these lights at about shoulder height and angle them slightly upward to avoid any direct glare in your eyes.
Advanced Lighting Techniques and Considerations
Through my journey of constant tweaking and adjusting, I've discovered some advanced techniques that really elevate the simulator experience. One game-changing addition was installing dimmer controls for all lights. This allows me to adjust the lighting intensity based on the time of day and the specific game or practice session I'm doing.
The ambient light in your room plays a bigger role than you might think. I painted my walls a neutral matte gray after noticing that my originally white walls were creating too much light bounce and affecting the simulator's readings. This simple change made a remarkable difference in the accuracy of shot tracking and the overall visual experience.
Common Lighting Mistakes and How to Avoid Them
Boy, have I made my share of lighting mistakes! The most costly was installing spotlights that were too bright and too focused. They created harsh shadows and actually interfered with the simulator's ability to track the ball accurately. I've since learned that diffused lighting is absolutely crucial for consistent performance.
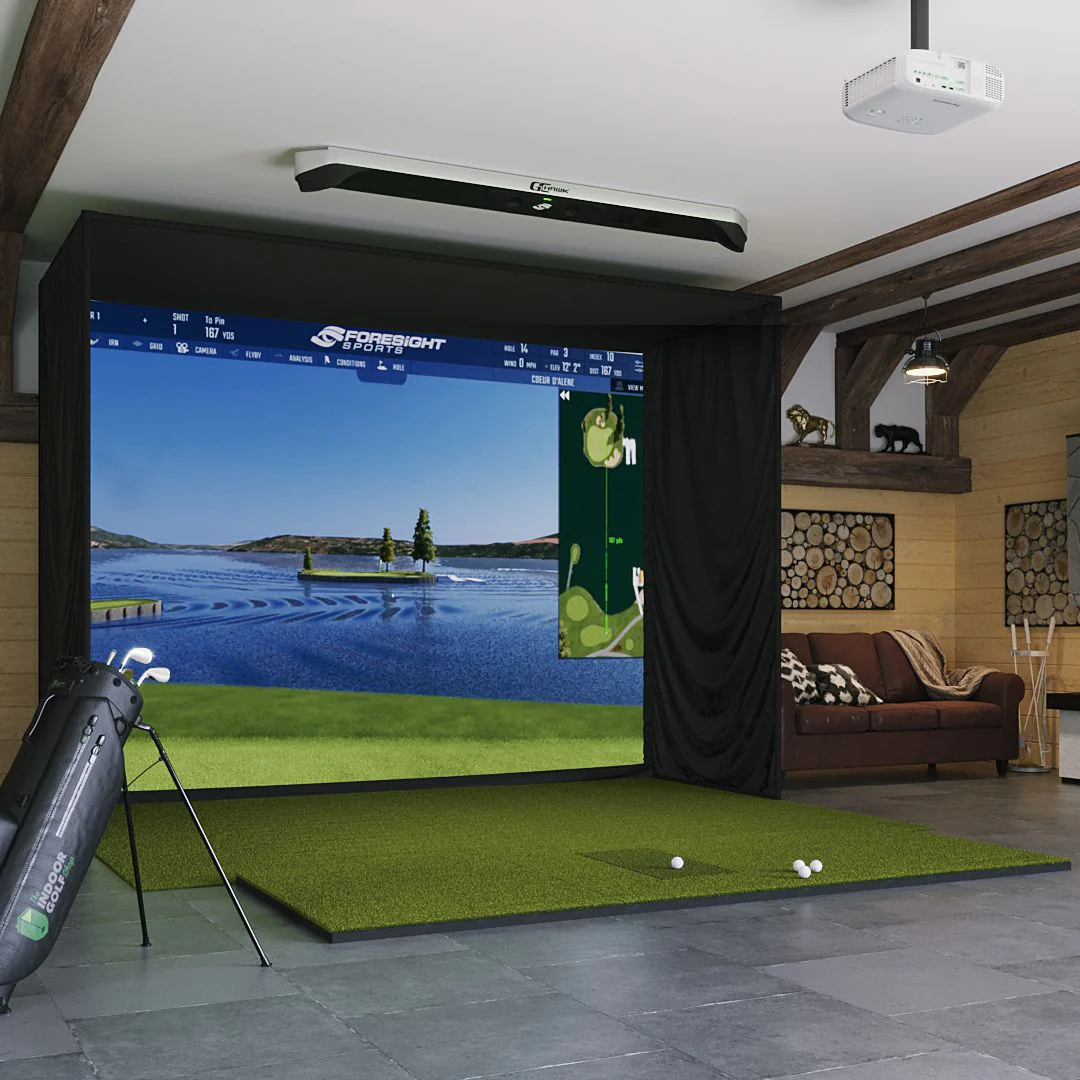
Another mistake was ignoring the impact of natural light. My simulator room has one small window, and for months, I struggled with inconsistent readings during daytime play. Installing a proper blackout shade solved this issue completely. Now I have total control over my lighting environment, regardless of the time of day.
Conclusion
Creating the perfect lighting setup for your home golf simulator might take some time and experimentation, but it's absolutely worth the effort. Start with the basics of overhead and side lighting, then fine-tune based on your specific space and needs. Remember, proper lighting isn't just about being able to see the ball – it's about creating an environment where your simulator can function at its best.
If you're just starting your simulator journey, make lighting a priority from day one. And if you're dealing with an existing setup, don't be afraid to make changes. Trust me, the improvement in performance and enjoyment will be worth every minute spent on optimization!