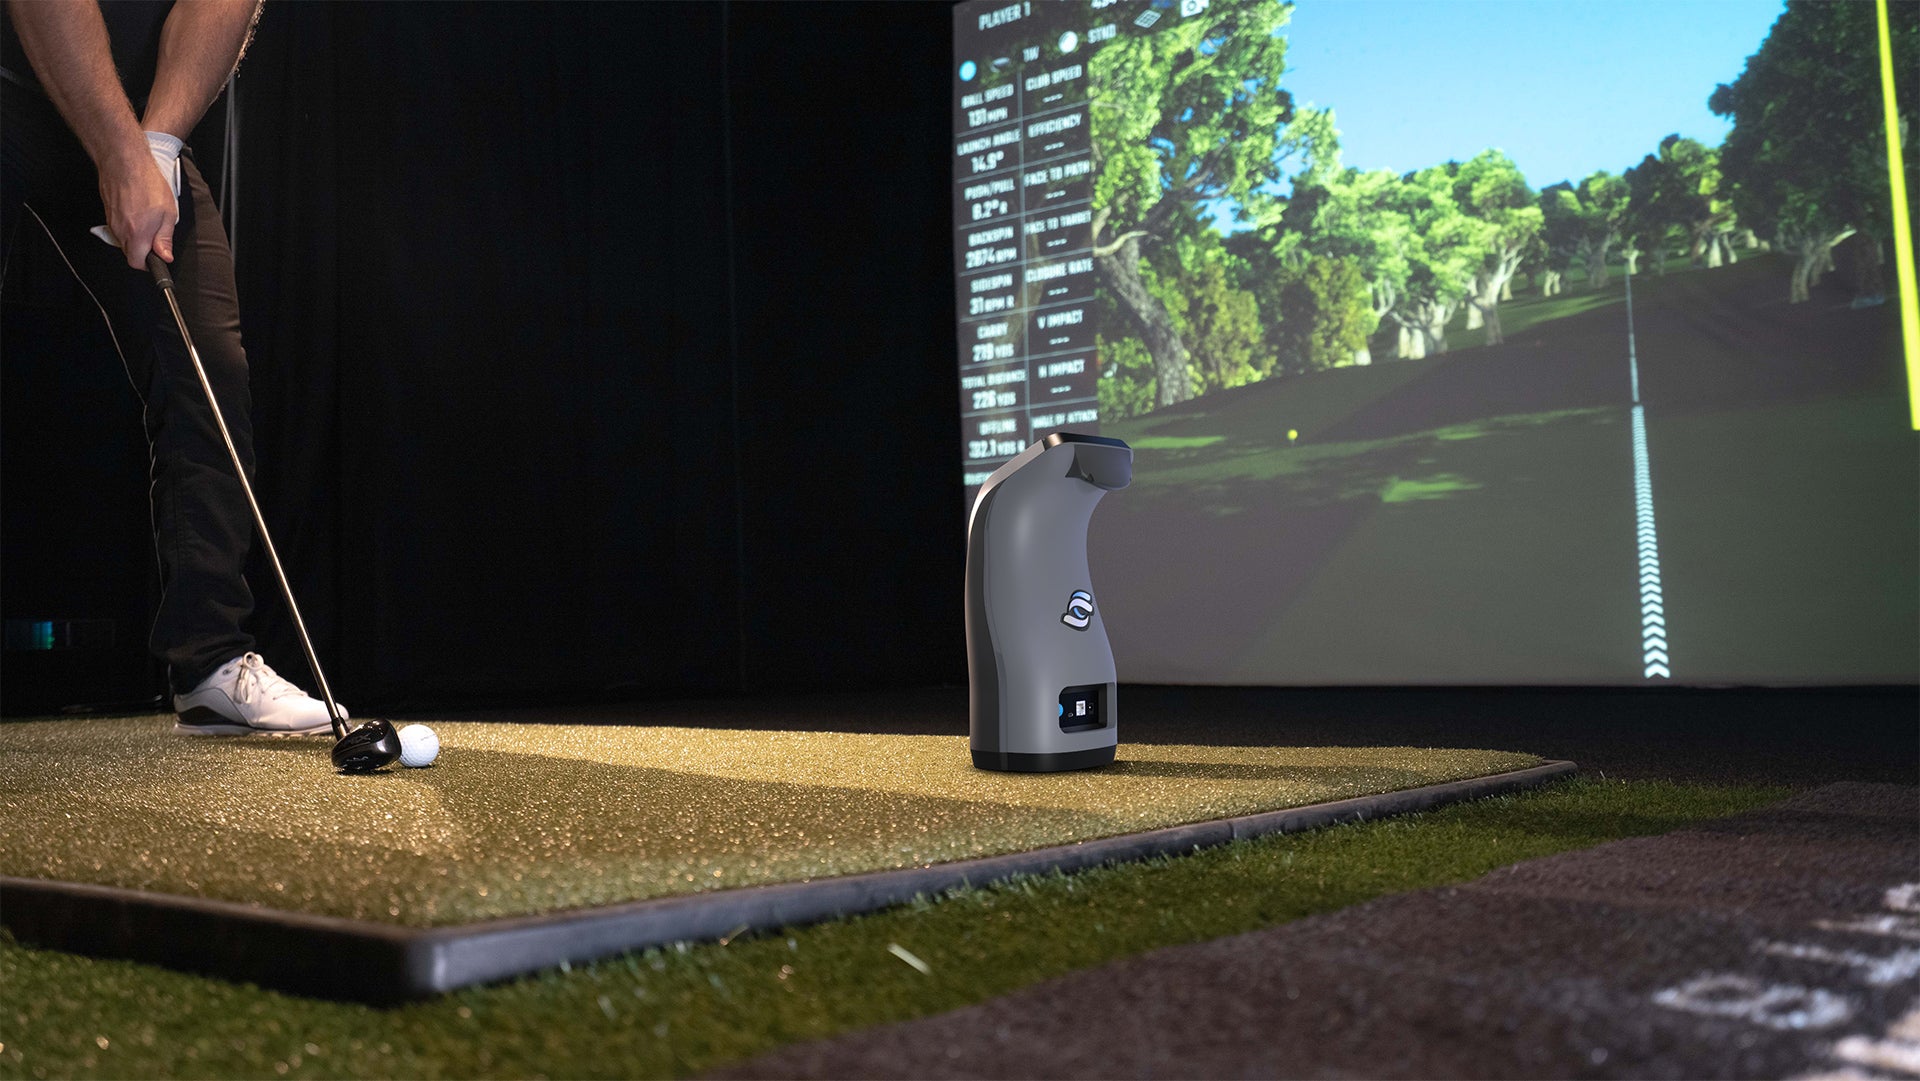
After spending years helping golfers create their dream simulator setups, I've learned that soundproofing is often the most overlooked aspect of the project. Trust me, your family (and neighbors!) will thank you for taking the time to properly soundproof your simulator room. Let me share everything I've learned about creating a quiet, peaceful environment for your golf practice.
Understanding Golf Simulator Noise Sources

When I first built my simulator room, I had no idea just how many different types of noise I'd need to deal with. There's the obvious impact sound of the ball hitting the screen, but don't forget about the projector fan noise, the sound of your club whooshing through the air, and even the occasional frustrated outburst (we've all been there!).
Impact noise is typically the biggest concern, as it can travel through walls and floors quite easily. These low-frequency sounds are particularly tricky to contain, and they're the main reason why basic foam panels alone won't cut it. Then there's the reverb within the room itself, which can make the space feel uncomfortably loud and echo-y during practice sessions.
Essential Soundproofing Materials
After trying various combinations of materials, I've found that a multi-layered approach works best. You'll want to start with mass-loaded vinyl (MLV) for your walls – this stuff is amazing at blocking sound transmission. I remember the first time I installed it; the difference was like night and day!
Next up, you'll need acoustic panels for sound absorption within the room. I typically recommend panels that are at least 2 inches thick, preferably 4 inches for better low-frequency absorption. Don't forget about Green Glue compound for your drywall layers – this stuff works wonders for dampening sound transmission between walls.

Wall and Ceiling Treatment
Here's where the real work begins! I always start with the walls, using a combination of approaches for maximum effectiveness. The basic layering goes something like this: existing wall, MLV layer, decoupling air gap, new drywall with Green Glue, and finally, acoustic panels for room treatment.
For the ceiling, I've found that installing a drop ceiling with insulation above it works wonders. Just make sure to seal any gaps around light fixtures or vents – sound will find any weak spot in your setup! I learned this the hard way when I discovered a tiny gap around a recessed light was letting sound escape into the room above.
Floor Soundproofing Solutions
Don't forget about the floor! I can't tell you how many times I've seen people focus entirely on their walls and ceiling while completely neglecting the floor. Impact noise can travel straight down to rooms below, so proper floor treatment is crucial.
I recommend starting with a layer of MLV, followed by rubber underlayment and floating floor panels. For extra protection, consider installing isolation pads under your hitting mat. This combination has proven incredibly effective in my installations, especially for simulator rooms above living spaces.

Door and Window Considerations
Doors and windows are often the weakest links in your soundproofing chain. I always recommend solid core doors with door seals and automatic door bottoms. The first time I installed these, I couldn't believe the difference they made! If your budget allows, consider a double-door entry system for maximum sound isolation.
For windows, double-pane glass is your minimum starting point. If possible, consider adding window plugs that you can insert during practice sessions. These can be removed when you want natural light in the room. I've helped clients create some really clever removable window plug systems that work beautifully.
Ventilation and Sound Management
Here's something most people don't think about until it's too late – ventilation! A properly soundproofed room needs good airflow, but standard vents can create sound leaks. I've found that installing baffled vent boxes or sound maze systems works great for maintaining both sound isolation and proper air circulation.
Don't forget about managing the heat from your projector too. I usually recommend installing a small, quiet exhaust fan with a sound-dampened housing to keep the room comfortable during those longer practice sessions.
Testing and Fine-Tuning
Once you've got everything installed, it's crucial to test and adjust your soundproofing setup. I always do a thorough sound test, using a decibel meter to measure noise levels in adjacent rooms. Start with some gentle shots and gradually work up to full swings, making note of any areas where sound might be leaking through.
Remember to test at different times of day – sound transmission can sometimes be more noticeable at night when ambient noise levels are lower. Don't be afraid to make adjustments if you find weak spots in your soundproofing.
Conclusion
Soundproofing your golf simulator room might seem like a big undertaking, but trust me – it's worth every bit of effort and investment. Not only will it make your practice sessions more enjoyable, but it'll also help maintain domestic harmony! Take your time with the installation, and don't cut corners on materials or technique.
Have you tackled a simulator room soundproofing project? Share your experiences in the comments below! I'd love to hear about your successes and challenges, and I'm always happy to offer advice if you're stuck.
