


When I first considered teaching golf lessons using my home simulator, I was pretty skeptical. Could I really provide the same quality instruction indoors that I did out on the range? After three years and hundreds of successful lessons later, I can tell you that simulator-based teaching isn't just possible – it's revolutionary!
Advantages of Teaching with a Home Simulator
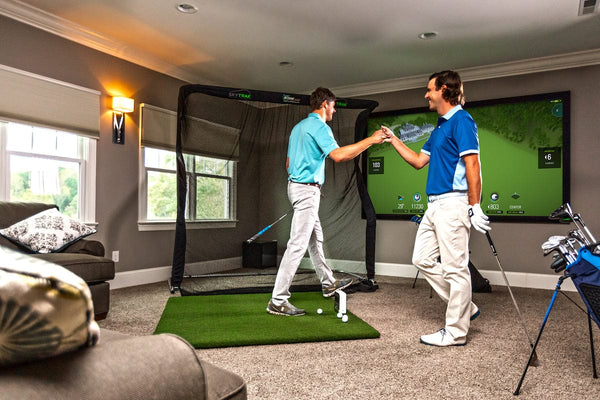
My first simulator lesson was actually an accident – a rainy day forced me and my student inside. What started as a backup plan turned into an eye-opening experience. The amount of immediate feedback and data we could access changed everything about how I approached teaching.
Teaching with a simulator offers unprecedented access to real-time data. Instead of guessing about swing path or club face angle, I can show students exactly what's happening at impact. This concrete data has dramatically reduced the time it takes for students to understand and correct their swing issues.
The controlled environment has proven to be a massive advantage too. No more wind affecting ball flight, no more sun in students' eyes, and no more weather cancellations. This consistency helps students focus purely on their technique and allows for more precise tracking of their progress.
Setting Up Your Teaching Space
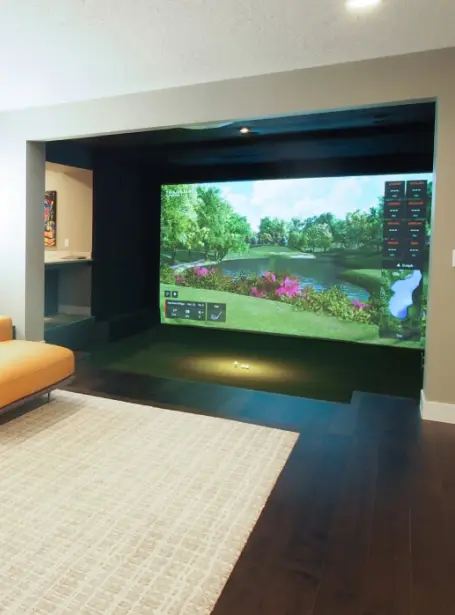
Creating an effective teaching environment in your simulator space takes some careful planning. I learned this the hard way when I started – my initial setup had students squinting at numbers they could barely see while I awkwardly tried to demonstrate proper technique in too tight a space.
The viewing area needs to be carefully considered. I've found that positioning a secondary monitor at eye level, slightly offset from the hitting area, works best. This allows students to maintain their setup position while we discuss their numbers and swing characteristics.
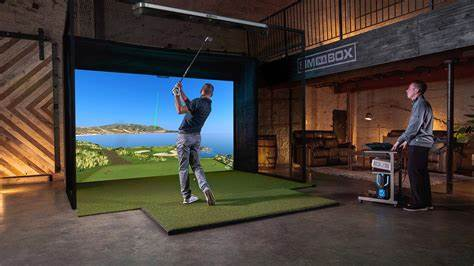
You'll want plenty of space for demonstration and movement. I recommend at least 12 feet of width in your teaching area. This gives you room to stand beside students and demonstrate movements without feeling cramped. Remember, you'll often need to view their swing from different angles.
Effective Teaching Techniques for Simulator Lessons
Teaching with a simulator requires a slightly different approach than traditional lessons. I've developed several techniques that work particularly well in this environment:
The instant feedback loop is your best friend. I've found that showing students their numbers immediately after a shot, then having them make a small adjustment and hit again, leads to faster improvement than lengthy technical explanations. The key is helping them connect feel with real data.
Video analysis takes on new meaning in a simulator environment. I record students' swings and sync the footage with their launch monitor data. This combination of visual and numerical feedback helps students understand the relationship between their movements and ball flight in a way that's impossible to achieve outdoors.
Managing Student Progress and Expectations

One of the biggest challenges I faced when starting simulator teaching was helping students transfer their improvements to the course. Here's what I've learned about managing this transition:
Progress tracking becomes much more precise with a simulator. I maintain detailed records of each student's key metrics – swing speed, path, face angle, and impact location. This data helps demonstrate improvement over time and allows us to set specific, measurable goals.
It's crucial to occasionally incorporate real-world practice. I encourage students to spend at least some time practicing outdoors, especially when working on short game skills. The simulator provides excellent feedback for full swings, but nothing beats actual green-reading and real-world lies for the short game.
Technical Considerations for Teaching
The technical aspects of simulator teaching require special attention. After numerous lessons, I've identified several key factors that can make or break the teaching experience:
Calibration becomes even more critical when teaching. I now check my system's calibration before each teaching session. Even small discrepancies can confuse students and undermine their confidence in the technology.
Lighting needs to be consistent and appropriate. I've installed adjustable LED panels that allow me to maintain optimal conditions for both the simulator's cameras and student comfort. Poor lighting can affect both the system's accuracy and the student's ability to see their ball flight clearly.
Conclusion
Teaching golf with a home simulator offers unique advantages that can accelerate student improvement. While it requires some adjustment to traditional teaching methods, the combination of instant feedback, consistent conditions, and detailed data analysis creates an incredibly effective learning environment.
Remember that success in simulator teaching comes from embracing the technology's strengths while understanding its limitations. Focus on helping students understand their data, but don't lose sight of the fundamentals that make golf such a great game!